Tis has to be the most simplest thing to produce out of my entire collection. After cutting out all the pieces I needed I bound the edges.
I then sew in the darts at the back and manufactured the panels together at the front. After this I proceeded to manufacture the side seams together. This made my garment ready for fittings week, all I had to do then was fit it to the model, take the garment in at the side seams and add in the shoulder straps.
I used some dutchess satin for the straps which I measured during fittings, sewing these in place and hemming the garment.
Friday, 25 June 2010
Waterfall Jacket in final fabric
I first constructed the shell of the bodice (without the lining), sewing all the panels into place but leaving the side seams open so I can attach my sleeves using the flat method.
After constructing the basic shape I could then move onto the more fiddly areas such as the waterfall collar and drape and the bottom of jacket. I used french seams at the edges of these pieces as this fabric is slightly see through so I did not want any loose threads floating around inside as it would look unprofessional.
I then gathered the sleeve, ready to be sewn in place. As mentioned before I used the flat method, attaching the sleeve first and then sewing up the side seam and underarm seam.
After this I proceeded to line the garment, sewing all panels of the lining in place before hand to it looks like another shell of a bodice. Making sure all raw edges were hidden I manufactured the lining in place, which I have to admit was rather difficult as the fabric used was rather thick and the outer fabric was stretchy so there was a good deal of manipulation needed on my part.
During fittings I decided where the fastenings would be and decided to use hook and eyes and have the buttons as ornament. I then finished the garment by binding the sleeves; I decided to do this after fittings so I would know beforehand if the sleeves were too loose or too tight.
Bra top in final fabric
I used the patterns I previously created from using the draping method to cut out all the pieces needed for the garment.
I then proceeded to pinning the pieces of fabric in place on the mannequin, making the folds and pressing them into place after, ready to sew.
I sew along the CF in order to hold the pleats in place as this proved successful in my toile.
After this I manufactured the back strap into place at one side seam, leaving the other open as there needs to be a fastening at one side which is going to be hook and eyes which will be put in place after fittings.
I then bound the edges in order to give a neat finish.
During fittings I pinned where the hook and eyes had to go and finished off the garment, attaching it to the leotard so that no accidents would happen on the cat walk!

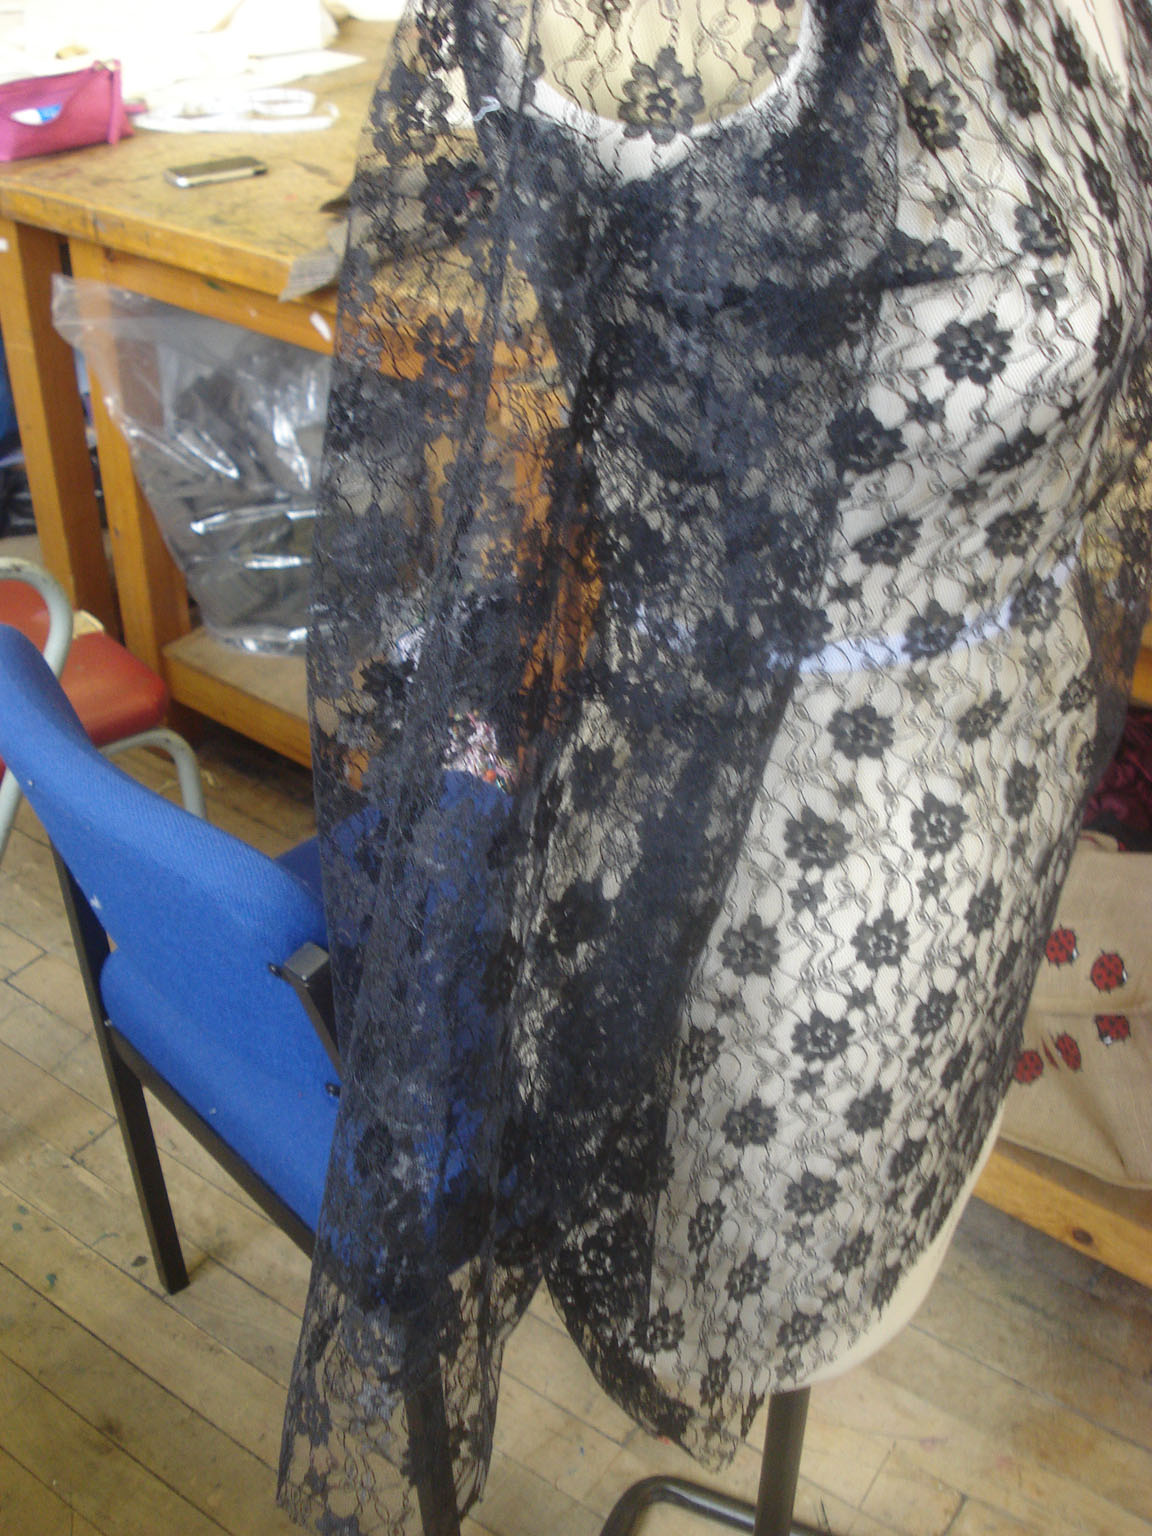
Draped Dress in final fabric
I created the main part of the dress first from, sewing the darts in place and adding in a centre folded zip in the side seam.
I then proceeded to create the bra of the dress, pinning the piece of fabric in place to make sure it fit the mannequin and marking where the gathering was needed. I used an industrial machine with a gather foot to do my next step of gathering all my pieces of fabric which include the bra, shoulder detail/strap and CF drape.
I then bound the edges of the bra and around the back of the main dress, after this I carefully attached the bra at the bottom of each cup and made sure my side seams aligned properly.
After this I pinned the drape in place and discovered it was too heavy for my garment so I decided to scrap it and I prefer it without.
I then manufactured the shoulder strap into place at the CF and CB of the garment. My last step was t do the hem and then my dress was completed
Puff Dress in final fabric


All pieces cut out in fabric, ready to be manufactured.


I manufactured the shoulder seams into place and sew the bust darts in first so that all body pieces were together and ready for the sleeves to be attached.


I then proceeded to manufacture the puff sleeve into place using the "on the flat" method, then sewing the inner arm seam and side seam in place as one line of stitching.

View of side seam.

Here is the finished garment with waist coat. The edges are going to be bound using bias cut dutchess satin binding.
Wednesday, 23 June 2010
Leotard in final fabric

I manufactured the shoulder seams into place first so that all pieces except for the sleeves were together to begin with.

Here is a front view of the leotard after the side seams were put together, I am really happy with the fit of this so far.

Side seam. As I am going to have to attach a sleeve later I will have to use the on the round method.

I originally wanted there to be a zip along the CB as a design feature but due to the nature of the fabric this isn't very practical as it bubbles as you can see here. I have decided to completely scrap the zip as its not necessary anyway and cut the back panel on the fold, removing a CB seam completely.

I think it looks much better without the zip and I actually prefer it to my original design as it looks an awful lot neater.
This is a picture of the completed leotard with the bra top and leggings as a complete outfit sdring fittings week.
Leggings in final fabric


View of netted knee panels after manufacturing, really pleased with the results so far.
Was a little loose on the mannequin so i'm going to take the garment in at the CF and CB seams, as you can see I have pinned the garment in this picture ready to be altered.
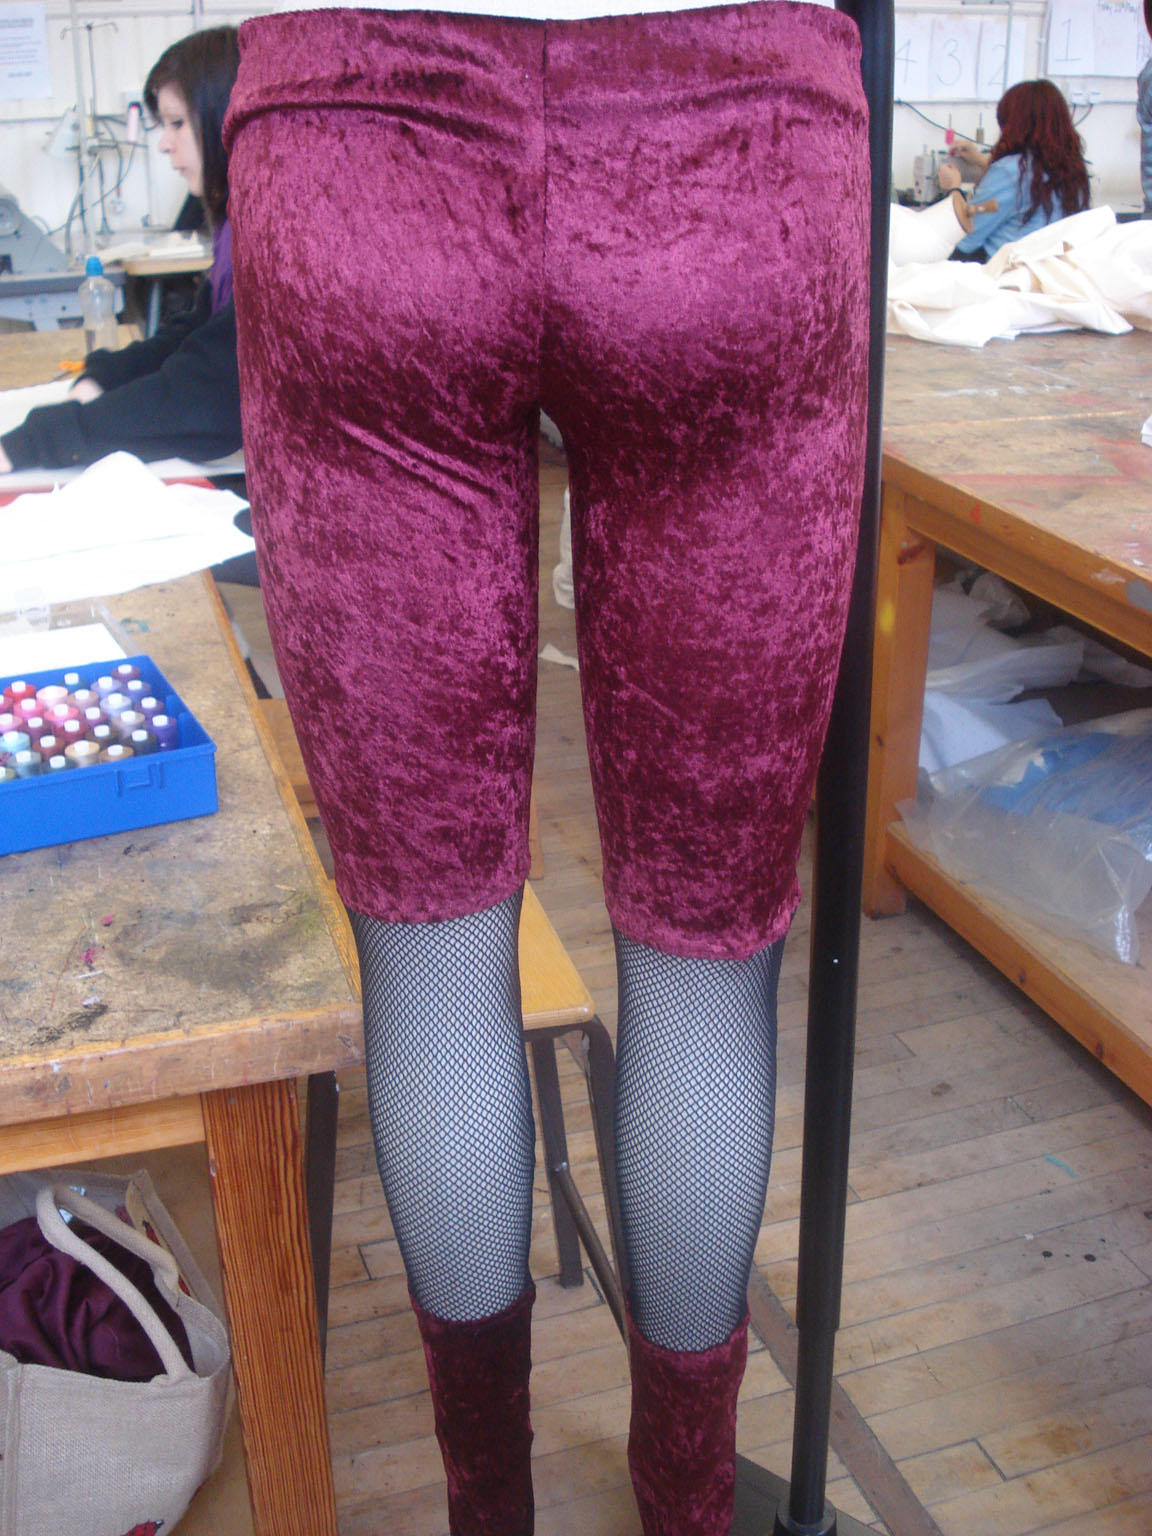


Toile Leggings, Second Attempt a success!


Here is a close up after the side seam was manufactured, as you can see the panels are in line, but the top stitching is not, so I will do this after the side seams are manufactured together where as before I did it earlier in the process.

Subscribe to:
Posts (Atom)